Here is the long awaited tutorial for the cute robin I made the other day. Sadly the pics aren't the best as it has been very grey and miserable again today, not good when your trying to get enought light to take photos!!

To make your very own Christmas robin you will need the Boho Flower punch, Oval Punch, 1 3/8" Circle Punch, 1" Circle Punch and 1/4" Circle Punch, Close to Cocoa and Real Red ink pads, sponge daubers, glue, Creamy Caramel, Real Red, Pumpkin Pie and Very Vanilla card stock.

Punch a 1" circle, a 1 3/8" circle and an oval in Creamy Caramel, punch a 1" circle in Real Red, punch the small star flower in Pumpkin Pie and punch 2 1/4" circles from Very Vanilla.

Use the Close to Cocoa ink and a dauber to sponge the edges of the Creamy Caramel shapes.

Do the same using the Real Red ink and red circle.

Cut the oval and star flower as shown above.

You are now ready to start to assemble the robin.
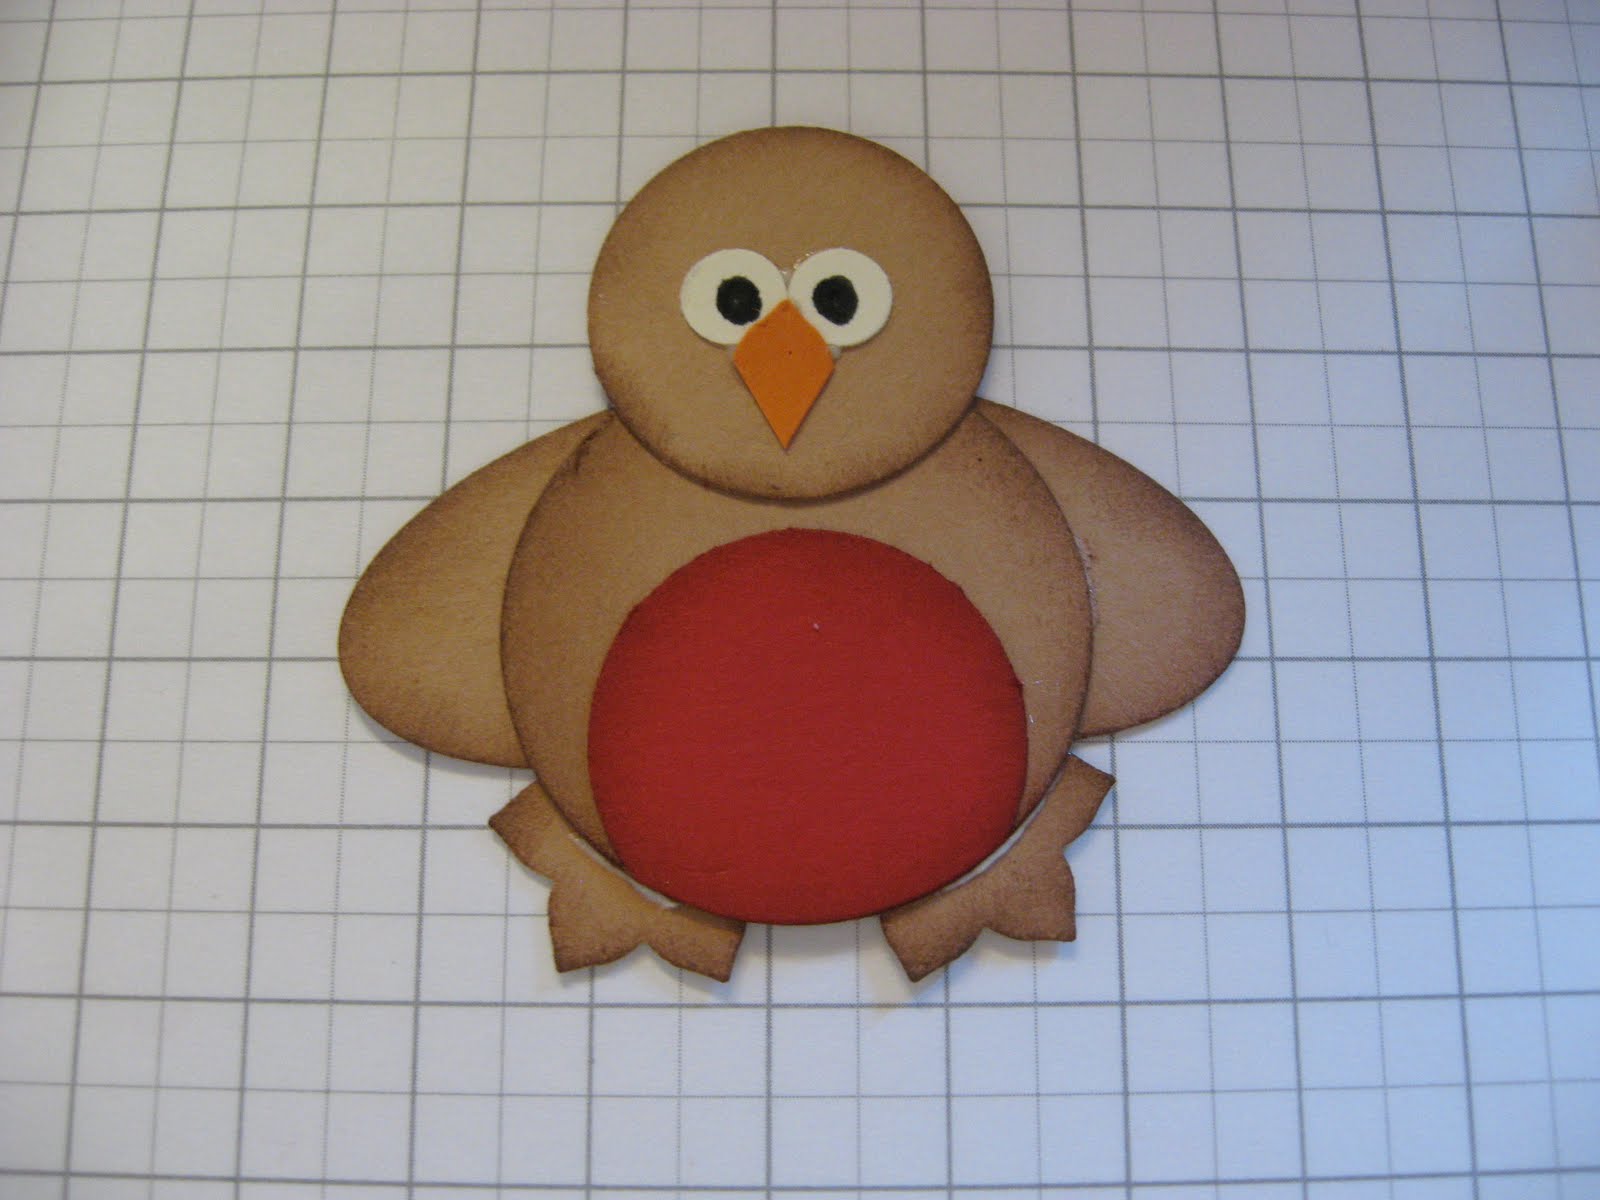
Stick the red circle on the bottom of the large brown circle so there is a slight overhang. Trim the excess red circle off and sponge the bottom of his tummy again with red ink.
Then stick the small brown circle at the top of the large circle to make his head.

Now stick on the half ovals to make his wings. I find it easiest to put the glue on the wing and stick it on from behind so you can adjust it from the front until it looks right.
Then stick down the 2 Very Vanilla circles for his eyes and add the beak section that you cut from the star flower. Add any detail with a pen.

You can leave him like that or if you want to add feet, just punch a star flower from the Boho punch, ink the edges and cut it in half.
Stick them on the same way as you did the wings.
And there he is, your own robin!
Don't forget I'm happy for anyone to use my design, all I ask in return is that you link back to my blog.
Happy punching!
Sarah x
1 comment:
Seems I NEED a few more punches! x
Post a Comment